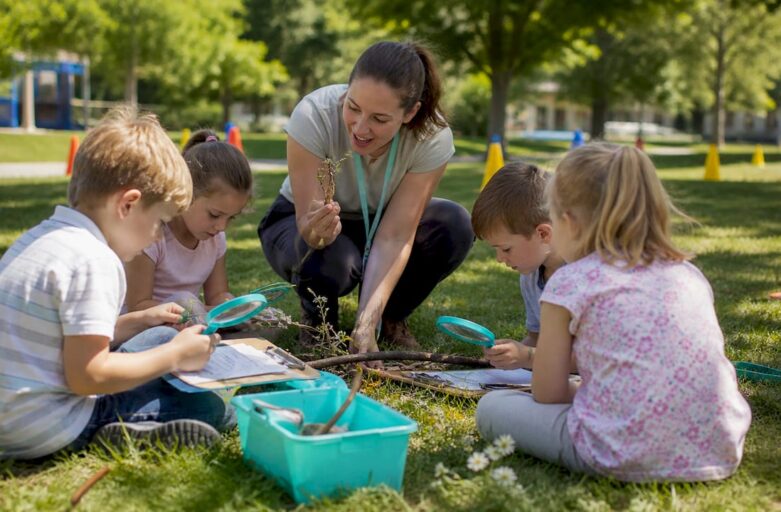
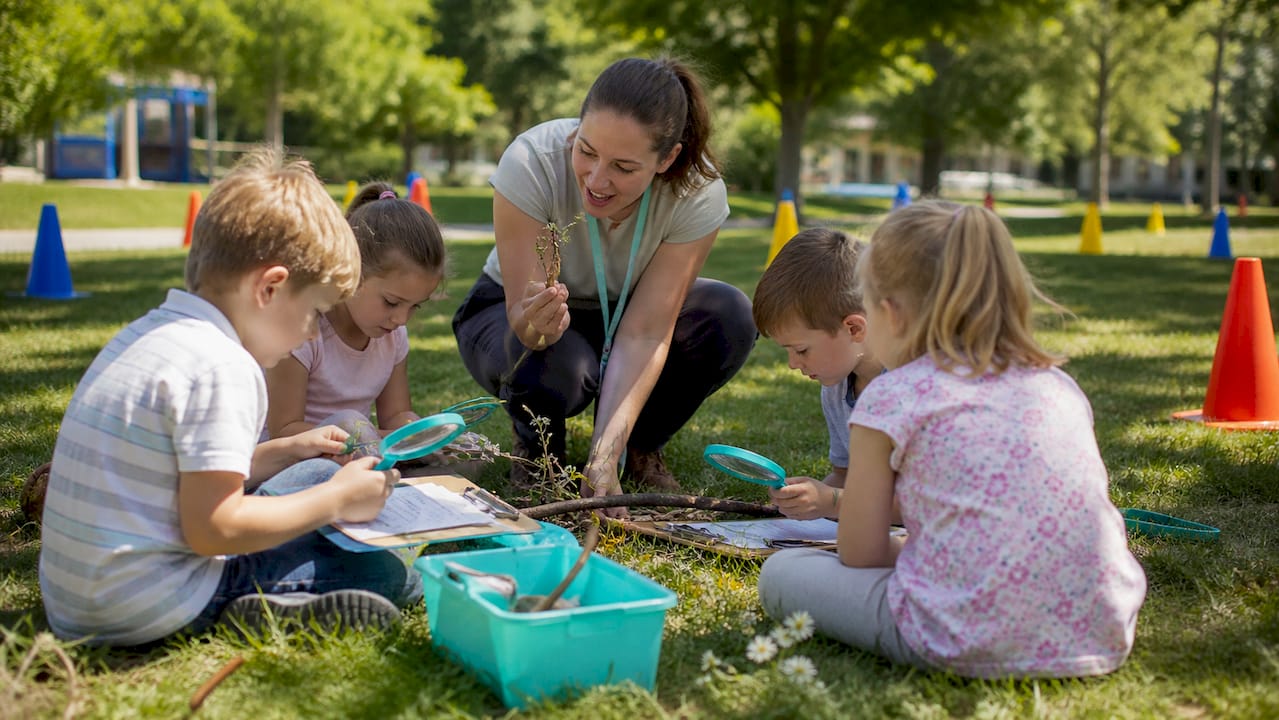
A low-risk outdoor school activity is any supervised, curriculum-linked session conducted on or near school grounds where the likelihood of significant harm is low, the environment is predictable, and routine controls (a clear boundary, a brief safety talk, appropriate supervision, and a quick site sweep) are sufficient to manage identified hazards without specialist training or equipment.
That definition comes directly from the HSE’s balanced and proportionate approach to school trips and outdoor learning, which the Department for Education (DfE) and Ofsted both reference when assessing whether a school’s risk management is reasonable. Learning through Landscapes (LtL) applies the same principle: the goal is not a hazard-free site, but a well-managed one.
Before you leave the classroom, run this quick check:
- Is the boundary visible and understood by every pupil?
- Is the supervision ratio adequate for the group and the site?
- Has a brief safety talk (two to three minutes) been delivered?
- Are pupils dressed appropriately for the weather and terrain?
- Has a quick site sweep been done in the last 24 hours?
- Is a first aid kit accessible and is at least one staff member first-aid trained?
- Has the session been logged in the register or lesson plan?
If you can tick all seven, the activity almost certainly qualifies as low risk.
Key takeaways
A low-risk outdoor school activity is defined by proportional controls, a predictable environment, and routine supervision, not by the absence of all hazards.
| Point | Details |
|---|---|
| Definition | Low risk means predictable environment, routine supervision, and no specialist equipment or hazardous materials. |
| Core controls | Visible boundary, two-minute briefing, site sweep, correct supervision ratio, and accessible first aid cover every session. |
| RBA documentation | A single-page risk–benefit assessment recording hazards, controls, and residual risk is sufficient for most low-risk activities. |
| Escalation triggers | Tool use, fire, deep water, heights, and off-site road crossings all require a fuller RA, qualified staff, and senior sign-off. |
| Routine beats one-off | Scheduling outdoor learning weekly builds familiarity that reduces incidents more effectively than any single document. |
Table of Contents
- What makes an outdoor activity genuinely low risk?
- Concrete examples of low-risk outdoor activities for UK schools
- Core risk management every outdoor session needs
- How to write a simple risk–benefit assessment
- Activities that are not low risk and what to do instead
- Which UK guidance bodies should you reference?
- Research-backed techniques that actually reduce risk
- A practical 30-minute outdoor lesson run sheet
- An editor’s perspective on outdoor risk in UK schools
- Laserclay: a low-risk, tech-enhanced option for school events
- Sources
What makes an outdoor activity genuinely low risk?
The starting point is the distinction between hazard and risk. A hazard is anything with the potential to cause harm: uneven ground, a low branch, a bee. Risk is the likelihood that the hazard actually causes harm given the controls in place. HSE’s five-step risk assessment guidance is explicit: the aim is proportional control, not hazard elimination. A muddy path is a hazard; it becomes low risk the moment pupils are wearing appropriate footwear and have been told to watch their step.
For a school activity to sit in the low-risk category, it should meet most of the following criteria:
- Predictable environment. The site is known to staff, checked regularly, and free from unexpected access by vehicles or the public.
- Short duration. Sessions on familiar ground, typically lasting less than an hour, give little time for conditions or group dynamics to deteriorate.
- Low likelihood of significant harm. The activity involves no tools, fire, deep water, heights, or public roads.
- Routine supervision. Standard school ratios apply; no specialist qualifications are needed.
- No hazardous materials or specialist equipment. Pupils use everyday items (pencils, clipboards, magnifying glasses) rather than anything requiring training to handle safely.
The risk–benefit assessment (RBA) approach fits naturally here. Rather than asking “could this go wrong?” the RBA asks “do the educational benefits justify the manageable risks?” For a schoolyard scavenger hunt, the answer is almost always yes. A brief note in the lesson plan recording that judgement is all the documentation most inspectors expect for genuinely low-risk sessions.
Concrete examples of low-risk outdoor activities for UK schools
The activities below work on most UK school grounds with standard supervision. Each carries a single most-important control.
- Schoolyard scavenger hunt. Pupils search for natural objects (leaves, stones, minibeasts) within a marked boundary. Control: define the boundary before going out and confirm pupils can repeat it back.
- Observational nature walk. A guided walk around the school grounds or a nearby path, stopping to sketch or record observations. Control: walk the route yourself the morning of the session to check for new hazards.
- Plant and invertebrate survey. Pupils use identification sheets to record species in a set area. Control: brief pupils on not touching unknown plants and washing hands on return.
- Outdoor writing or reading. Pupils take books, journals or creative writing tasks outside. Control: seat pupils away from hard surfaces and confirm shade or sun protection in warm weather.
- Simple team games (tag variations, relay races). Standard PE warm-up activities moved outdoors. Control: check the playing surface for debris or wet patches before the session begins.
- Mindfulness or sensory walks. Pupils walk slowly, recording sounds, smells and textures. Control: pair pupils with additional needs with a peer or teaching assistant.
- Outdoor maths or science tasks. Measuring shadows, counting, estimating distances. Control: keep equipment simple and account for all items before returning indoors.
For inclusive adaptations, these ten examples for educators show how each activity type can be adjusted for pupils with physical or sensory additional needs without increasing the risk profile.
For larger groups or whole-school events, school sports day alternative activity ideas offer event-scale formats that keep the same low-risk principles in place.
Core risk management every outdoor session needs
Good outdoor risk management is less about paperwork and more about repeatable routine. The following structure covers what staff should do before, during, and after any low-risk outdoor session.
Before the session
- Walk the site within 24 hours of the session. Look specifically for: standing water, broken glass or litter, uneven ground or trip hazards, evidence of animal activity, and any new access points that could allow vehicles or strangers onto the site.
- Check the weather forecast. Cold, wet, or very hot conditions change the risk level of otherwise routine activities.
- Confirm the supervision ratio. For most low-risk schoolyard activities, standard class ratios apply, but note any pupils with medical conditions (severe allergies, epilepsy, mobility issues) who may need closer supervision.
- Prepare a brief kit: first aid bag, register or class list, mobile phone, and any activity materials.
During the session
- Deliver the safety briefing before leaving the building, not at the site. Two to three minutes spent setting expectations indoors saves repeated intervention outside.
- Assign a clear role to any teaching assistants: one adult monitors the boundary, another supports individuals.
- Use a signal (whistle, raised hand) that pupils recognise as “stop and return.” Practise it once before the session begins.
After the session
- Do a headcount at the boundary before re-entering the building.
- Ask pupils to wash hands, particularly after any contact with soil, plants, or animals.
- Log the session briefly: date, activity, group, supervising staff, any incidents or near-misses.
Pro Tip: Keep a one-page session log template in your outdoor learning folder. A two-line entry per session builds an inspection-ready record over a term without adding meaningful workload.
Communication with parents for routine low-risk activities on school grounds does not require individual consent letters. A general statement in the school’s outdoor learning policy or the annual home-school agreement is sufficient. For activities that move off-site, even briefly, a standard notification letter or text is good practice.
How to write a simple risk–benefit assessment
A full risk assessment is not always required for low-risk activities. What inspectors and school leaders typically expect is a brief RBA that records the educational rationale, the hazards considered, and the controls applied. The structure below fits on a single page.
RBA template fields:
- Activity title and date
- Learning objective (one sentence: what will pupils gain?)
- Location and duration
- Hazards identified (list each one)
- Initial risk level (High / Medium / Low before controls)
- Controls applied (one line per hazard)
- Residual risk level (risk remaining after controls)
- Authorising signature (class teacher or phase leader)
Worked example: 30-minute schoolyard scavenger hunt
| Field | Entry |
|---|---|
| Activity | Schoolyard scavenger hunt |
| Date | As scheduled |
| Learning objective | Pupils identify five common UK plant species using identification cards |
| Location and duration | School grounds, marked boundary, 30 minutes |
| Hazards | Uneven ground; contact with unknown plants; pupils leaving boundary |
| Initial risk | Low |
| Controls | Site swept morning of session; pupils briefed on boundary and plant-handling rules; hand-washing on return; 1:15 supervision ratio |
| Residual risk | Very low |
| Authorising signature | Class teacher |
Project Learning Tree’s Schoolyard Safari uses exactly this structure: a short briefing, a timed 20–30 minute activity, and a debrief, with the RBA completed in advance and kept in the lesson file.
A fuller risk assessment (multi-page, countersigned by a senior leader) is needed when the activity moves off-site, involves specialist equipment, or introduces hazards that routine controls cannot adequately manage. Store completed RBAs in the school’s outdoor learning folder and share a copy with the headteacher or designated outdoor learning lead before the session.
Activities that are not low risk and what to do instead
Some activities look straightforward but carry hazards that routine controls cannot adequately manage. Recognising these early prevents under-prepared sessions.
- Tool use (saws, knives, mallets). Requires Forest School Level 3 training or equivalent, a specific tool-use risk assessment, and a reduced supervision ratio. The Forest School Association sets the competency standard.
- Open fires and cooking on flames. Needs a qualified practitioner, a dedicated fire-safety RA, a fire blanket and bucket of water on site, and parental notification.
- Activities near deep or moving water. A separate water-specific risk assessment is required. Practical guidance on water-side risks for schools covers the template checks and supervision requirements in detail.
- Heights (climbing trees, structures above 1.5 m). Requires a structural inspection of the feature, a specific RA, and ideally a qualified outdoor education instructor.
- Public roads and traffic. Off-site movement near roads requires a pedestrian-safety briefing, high-visibility vests, a minimum of two adults, and a separate off-site RA countersigned by the headteacher.
- Overnight stays and residential trips. Full DfE-compliant educational visit documentation, a named Educational Visits Coordinator (EVC), and local authority notification where required.
For each of these, the escalation path is the same: identify the additional hazard category, check whether any staff hold the relevant qualification, request documentation from any external provider (public liability insurance, their own RA, staff DBS records), and obtain senior leadership sign-off before confirming the activity.
Which UK guidance bodies should you reference?
Knowing which organisation to cite matters when you are writing policy or responding to an inspection query.
- HSE. Sets the legal framework. Its school trips and outdoor learning guidance is the primary reference for proportional risk management and the risk–benefit approach. Ofsted inspectors expect schools to be familiar with it.
- DfE. Publishes guidance on educational visits and the role of the Educational Visits Coordinator. Schools in England should follow the DfE’s Health and Safety: Advice on Legal Duties and Powers document alongside HSE guidance.
- Ofsted. Does not inspect individual risk assessments in detail but does look for evidence that outdoor learning is purposeful, that staff understand their responsibilities, and that incidents are recorded and acted on.
- Learning through Landscapes (LtL). The UK’s leading charity for school grounds. LtL provides practical activity guides, training, and case studies specifically for UK school settings, and its resources are widely used as evidence of good practice.
- Forest School Association (FSA). Sets the standard for nature-based provision that goes beyond the school grounds. FSA research on emotional resilience highlights the benefits of deeper nature contact but also notes the additional hazards that require specific FSA-level training, which is why Forest School sits outside the low-risk category.
- Local authorities. Many councils publish their own RA templates and site-specific checklists. Cardiff Council and Bridgend Council, for example, host regional guidance pages that schools in those areas can adapt directly. Always check whether your local authority has a preferred template before creating one from scratch.
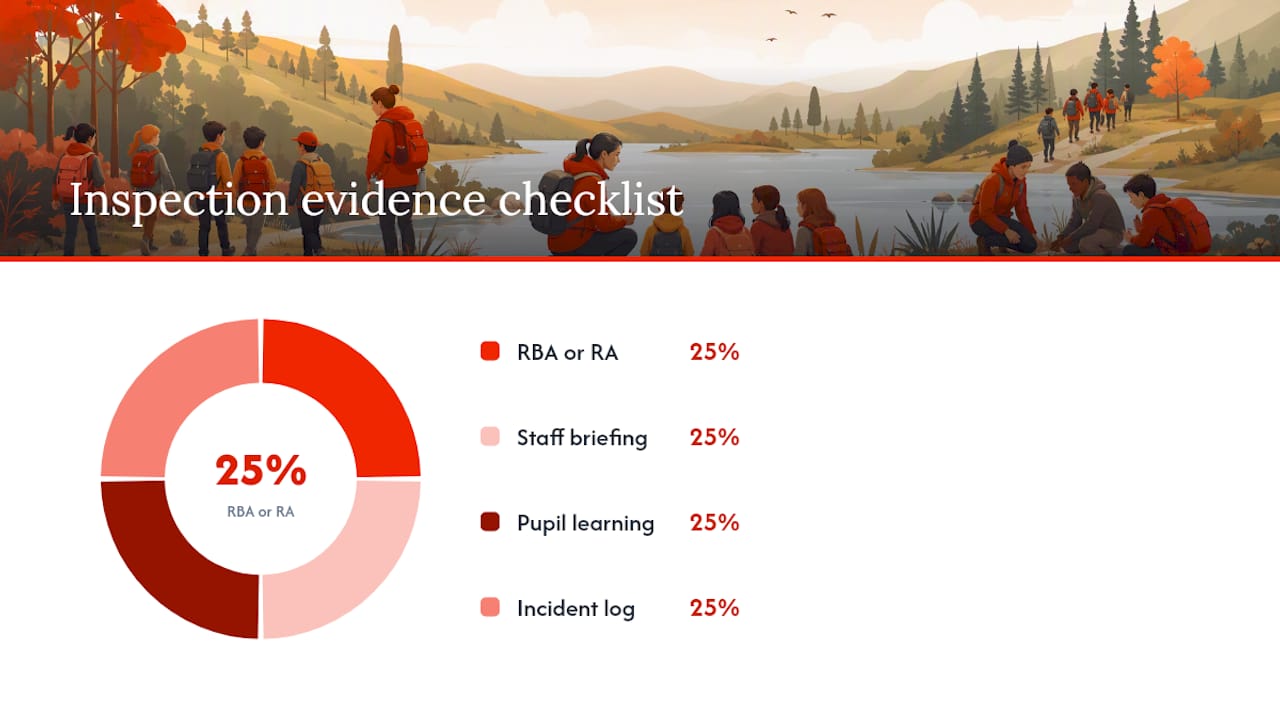
When inspectors review outdoor learning, they typically look at: a completed RBA or RA in the lesson file, a brief staff briefing note, evidence of pupil learning (photos, work samples, teacher observations), and the incident log. Four items, none of which requires significant additional workload.
Research-backed techniques that actually reduce risk
The evidence on what cuts incidents in outdoor lessons points to a small number of high-leverage habits rather than elaborate procedures.
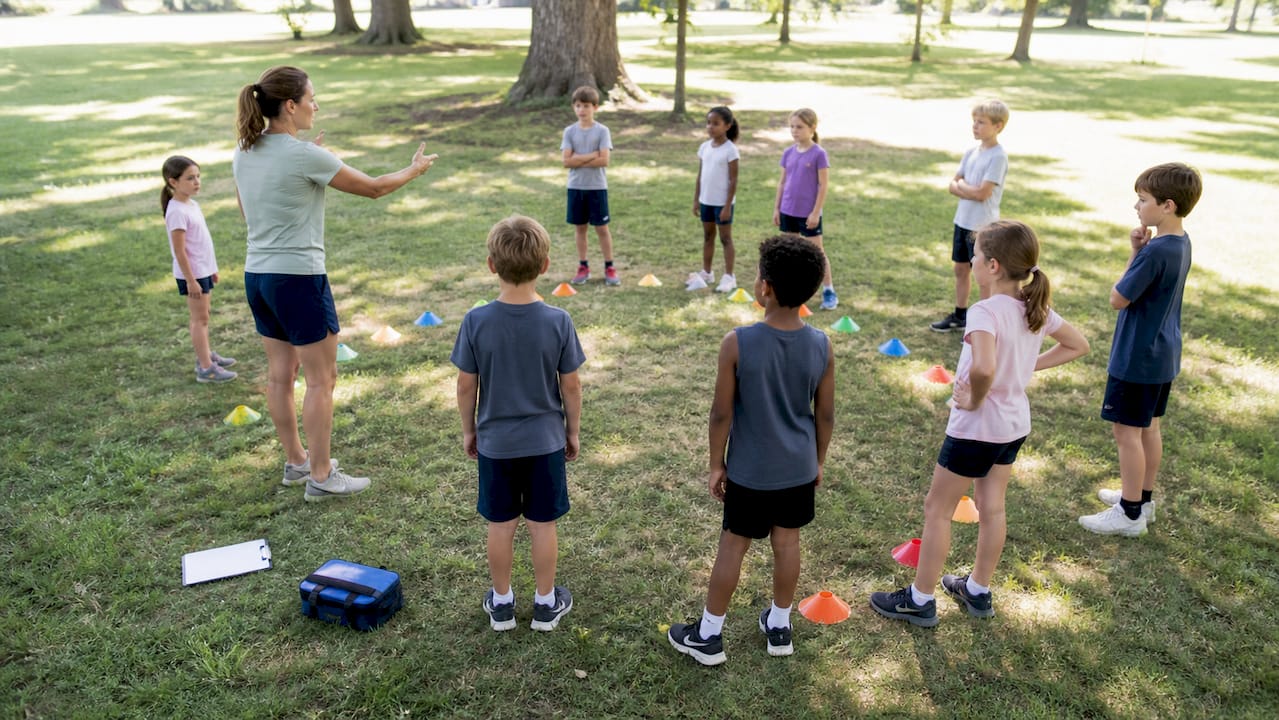
HSE guidance identifies a visible, defined boundary as the single most effective low-effort control. When pupils can see the boundary and have been told what happens if they cross it, the number of boundary-related incidents drops sharply. A rope on the ground, a line of cones, or a named landmark all work.
Field Studies Council research adds a second finding: using the same outdoor space repeatedly builds familiarity for both staff and pupils, which reduces the unknowns that cause incidents. A class that goes outside every Tuesday afternoon knows the site, knows the routine, and needs less active management than one going out for the first time.
The third lever is the pre-activity briefing. A short, consistent script before going outside sets expectations and reduces the need for repeated intervention. Two ready-to-use scripts:
Before going out: “We are going to [location] for [duration]. The boundary is [landmark]. Stay within it. If you need help, raise your hand and stay still. We will come back in when I [signal]. Any questions?”
On return: “Well done. Before we go in: hands to be washed, equipment returned, anything unusual to report? Tell me now.”
Edutopia’s classroom case study shows exactly this pattern working in practice: a structured briefing, a timed outdoor task, and a debrief built collaboration skills while keeping the session firmly within low-risk parameters.
Pro Tip: Schedule outdoor learning at the same time each week. EducateOutside recommends routine over one-off events for precisely this reason: familiarity with the site and the routine is itself a risk-reduction strategy.
A practical 30-minute outdoor lesson run sheet
This timed sequence works for any low-risk schoolyard activity. Keep a printed copy in your planner.
10 minutes before going out (indoors):
- Complete the site sweep mentally or physically (done earlier that day).
- Confirm supervision roles with any additional adults.
- Deliver the safety briefing using the script above.
- Check: first aid kit, register, mobile phone, activity materials.
25 minutes outside:
- Position yourself so you can see the whole group and the boundary.
- Use the agreed signal at the halfway point to check in with the group.
- Teaching assistant monitors the boundary and supports individuals.
- Note any near-misses or unexpected hazards for the post-session log.
5 minutes back indoors:
- Headcount at the boundary before re-entering.
- Hand-washing.
- Two-minute debrief: what did you find / notice / do?
- Complete the session log (two lines maximum).
Contingency responses:
| Situation | Response |
|---|---|
| Pupil leaves boundary | Signal to stop; teaching assistant retrieves; log the incident |
| Weather deteriorates suddenly | Use the return signal; move indoors; adapt the task |
| Minor injury | First aid on site; log; inform parents if needed |
| Pupil allergic reaction | Follow school medical protocol; call for help immediately |
Pro Tip: The first time you take a class outside, keep the activity to 15 minutes and the boundary very tight. Build duration and range gradually. Pupils who know the outdoor routine need far less management than those encountering it for the first time.
An editor’s perspective on outdoor risk in UK schools
The conversation about outdoor learning in UK schools has been stuck in the wrong place for years. Teachers worry about liability; administrators worry about Ofsted; and the result is that genuinely low-risk activities get buried under paperwork that nobody reads.
The HSE has been clear since at least the early 2000s: the problem is not that schools take too many risks outdoors. It is that they sometimes apply full risk-assessment machinery to activities that need nothing more than a boundary, a briefing, and a headcount. That mismatch creates workload without improving safety.
What actually works is simpler than most policy documents suggest. A visible boundary. A consistent weekly slot. A two-minute briefing that pupils hear often enough to recite themselves. These three habits, applied regularly, do more for outdoor safety than any template.
The deeper issue is that outdoor learning remains occasional in too many schools, which means every session carries the anxiety of the unfamiliar. The Field Studies Council’s evidence on familiarity and safety is worth taking seriously: the safest outdoor lesson is the one pupils have done before. Make it routine, and the risk management largely takes care of itself.
Laserclay: a low-risk, tech-enhanced option for school events

When a school event calls for something beyond the schoolyard, Laserclay offers a fully facilitated, laser clay shooting experience that sits firmly in the low-risk category. Sound-simulated, deactivated shotguns, eco-friendly reusable targets, and real-time electronic scoreboards replace lead ammunition and live firing entirely. Facilitators handle setup, safety briefings, and supervision, so school staff can participate rather than manage. It works indoors or outdoors, scales from a single class to a whole-year group, and requires no specialist training from school staff. For schools looking for a memorable, inclusive activity that satisfies both safeguarding and sustainability requirements, find out how to play and request a quote for your next event.
Sources
- Field Studies Council: The benefits of outdoor learning (PDF)
- Edutopia: Build students’ collaboration skills in this simple outdoor activity
- Project Learning Tree: Schoolyard Safari (activity page)
- EducateOutside: Outdoor learning activities for kids
Recommended
- Inclusive outdoor school sports: 10 examples for educators | Laser Clay Singapore
- School sports day alternative activity ideas: 2026 guide | Laser Clay Singapore
- How to source equipment for a school shooting sport programme | Laser Clay Singapore
- Child-safe shooting activity: a parent’s guide 2026 | Laser Clay Singapore